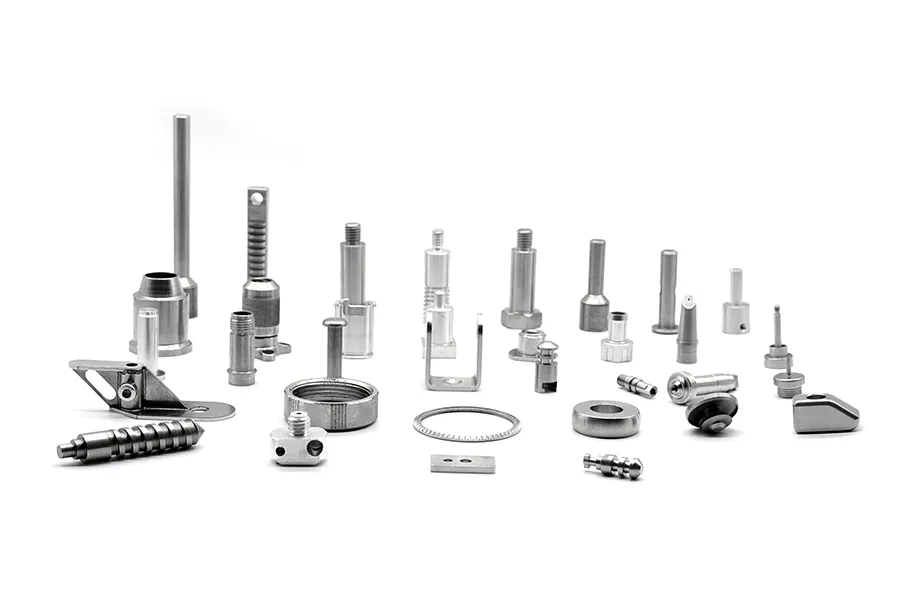
CNC Machining Accuracy is used to indicate the fineness of the workpiece product. It is a special term for evaluating the geometric parameters of the machining surface and an important indicator for measuring the performance of the CNC machining center. In general, machining accuracy is measured by tolerance grade, the lower the grade, the higher the precision. Turning, milling, planing, grinding, drilling, and boring are common processing forms of CNC machining centers, so how much processing accuracy should these processing procedures achieve?
1. CNC Machining Accuracy—Turning Accuracy
Turning refers to the cutting process in which the workpiece is rotated and the turning tool moves in a straight line or a curve in the plane to process the inner and outer cylindrical surfaces, end surfaces, conical surfaces, forming surfaces and threads of the workpiece.
The surface roughness of turning is 1.6-0.8μm.
Rough turning requires large cutting depth and large feed rate to improve turning efficiency without reducing the cutting speed, and the surface roughness is required to be 20-10um.
Semi-finishing and finishing turnings use high-speed and small feed rate and cutting depth as much as possible, and the surface roughness is 10-0.16um.
The finely ground diamond turning tools used on high-precision lathes can be used for high-speed precision turning of non-ferrous metal workpieces with a surface roughness of 0.04-0.01um. This kind of turning is also called “mirror turning”.
2. CNC Machining Accuracy—Milling Accuracy
Milling is a high-efficiency machining method that uses a rotating multi-blade tool to cut a workpiece. It is suitable for processing planes, grooves and various splines, gears and threaded molds and other special surfaces.
The machining accuracy of milling generally has a surface roughness of 6.3-1.6 μm.
The surface roughness during rough milling is 5-20μm.
The surface roughness during semi-finish milling is 2.5-10μm.
The surface roughness during fine milling is 0.63-5μm.
3. Planing accuracy
Planing processing is a cutting processing method in which a planer is used to make a horizontal relative linear reciprocating motion on the workpiece, and is mainly used for the shape processing of parts.
The surface roughness of the planing process is Ra6.3-1.6μm.
The surface roughness of rough planing is 25-12.5μm.
The surface roughness of semi-fine planing is 6.2-3.2μm.
The surface roughness of fine planing is 3.2-1.6μm.
4. CNC Machining Accuracy—Grinding Precision
Grinding refers to the processing method of using abrasives and abrasive tools to remove excess material on the workpiece. It belongs to finishing and is widely used in the machinery manufacturing industry.
Grinding is usually used for semi-finishing and finishing, and the surface roughness is generally 1.25-0.16μm. The surface roughness of precision grinding is 0.16-0.04μm.
The surface roughness of ultra-precision grinding is 0.04-0.01μm.
The surface roughness of mirror grinding can reach below 0.01μm.
5. CNC Machining Accuracy—Boring Accuracy
It is an inner diameter cutting process that uses a tool to enlarge a hole or other circular contours. Its application range generally ranges from semi-roughing to finishing. The tool used is usually a single-edged boring tool (called a boring bar).
The boring accuracy of steel materials can generally reach 2.5-0.16μm.
The machining accuracy of precision boring can reach 0.63-0.08μm.
More about this source textSource text required for additional translation information
Send feedback
Side panels

