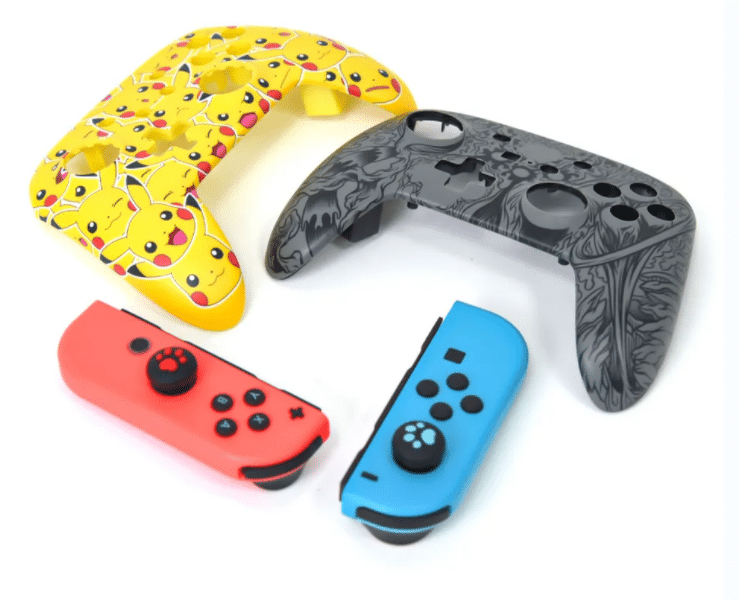
Injection molding plays an important role in manufaacturing parts. There are many things need to consider before, during and after injection molding. Here are 10 helpful tips for you.
- Material selection: Choose the appropriate material based on the specific requirements of the product in terms of strength, flexibility, color, etc. Consider factors such as temperature resistance, chemical resistance, and durability.
- Mold design: Work with an experienced mold designer to ensure that the mold is designed to produce consistent and high-quality parts. Consider factors such as mold material, layout, cooling channels, and part ejection.
- Mold flow analysis: Conduct mold flow analysis to identify potential issues such as air traps, weld lines, and sink marks. This allows for optimization of the injection molding process and minimization of defects.
- Injection molding machine selection: Choose a machine that is capable of meeting the required specifications in terms of clamping force, shot size, and cycle time. Consider factors such as machine reliability, energy efficiency, and automation capabilities.
- Process optimization: Optimize the injection molding process parameters such as injection speed, melt temperature, mold temperature, and injection pressure to achieve the desired part quality. Conduct systematic testing and adjustment to find the optimal settings.
- Quality control: Implement a comprehensive quality control system to monitor and control factors that can affect part quality, such as material drying, machine calibration, and mold maintenance. Regularly inspect and measure parts to ensure they meet the specified tolerances.
- Part design for manufacturability: Design the part with injection molding in mind, considering factors such as draft angles, wall thickness, and gate location. This will help prevent issues such as short shots, warpage, and sink marks.
- Proper gate design: Design the gate location and size appropriately to ensure proper filling and packing of the mold cavity. Consider factors such as minimizing shear stress, avoiding knit lines, and balancing flow.
- Cooling system design: Ensure proper cooling of the mold to achieve optimal cycle time and avoid warpage. Optimize the placement and design of cooling channels for efficient heat transfer.
- Process monitoring: Continuously monitor and analyze data during the injection molding process to identify any deviations or anomalies. Use sensors, cameras, and software to detect and address issues in real-time to minimize scrap and downtime.
10 Things need to consider when design molding
- Understand the material: Injection molding requires a thorough understanding of the material being used. Factors such as viscosity, flow rate, shrinkage, and cooling properties will all affect the final product. Select the appropriate material and consult material data sheets for guidance.
- Design for manufacturability: Consider the limitations and capabilities of the injection molding process. Design parts with easy moldability in mind, such as avoiding undercuts, ensuring uniform wall thickness, and incorporating draft angles. This will help in reducing costs, improving quality, and increasing production efficiency.
- Gate location: Determine the best gate location for injection. It should ensure proper flow and filling of the mold while minimizing defects such as weld lines or air traps. Multiple gates may be required for complex parts.
- Parting line and mold splits: Determine the parting line and mold splits based on the geometry and functionality of the part. Ensure proper alignment and minimize parting line mismatch to avoid flash or other defects.
- Venting: Provide proper venting in the mold to allow for the escape of trapped air or gases during the injection molding process. If the trapped air cannot escape, it can cause defects such as voids, burn marks, or sink marks on the part surface.
- Wall thickness: Maintain uniform wall thickness throughout the part to ensure consistent cooling and reduce the risk of warping, sink marks, or shrinkage.
- Ribs and reinforcements: Use ribs or reinforcements in areas that require added structural support or increased stiffness. This can help reduce overall part weight while maintaining strength.
- Surface finish and texture: Specify the desired surface finish and texture for the final part. Textures can help hide defects and improve aesthetics, while finishes can enhance functionality or provide desired friction properties.
- Consider assembly requirements: If the design requires assembly of multiple parts, incorporate features such as snap fits, interlocking tabs, or self-aligning features to facilitate efficient assembly.
Test and iterate: Prototype your design and carry out thorough testing to ensure it meets the desired specifications and functionality. Make any necessary adjustments or iterations before finalizing the mold design.

